Install HollyHock3 MOD
HollyHock3 is installed as a mod for your ClassPad. The current installer is made for Windows only.
If you use macOS, follow the Install on macOS guide. If you use Linux, we recommend using a Windows virtual machine. Wine should work too, but if you run into issues, please join our Discord server and tell us what happened.
Disclaimer
Section titled “Disclaimer”Install the mod
Section titled “Install the mod”Go to classpad.dev, then run the installer command from PowerShell:
- On Windows, press
Win + Xand chooseWindows PowerShell. - Copy and paste this command, then press Enter:
irm https://get.classpad.dev/ | iex- Follow the installer steps below.
Not on Windows or having issues? Join our Discord server for help.
Installer steps
Section titled “Installer steps”1. Start the update
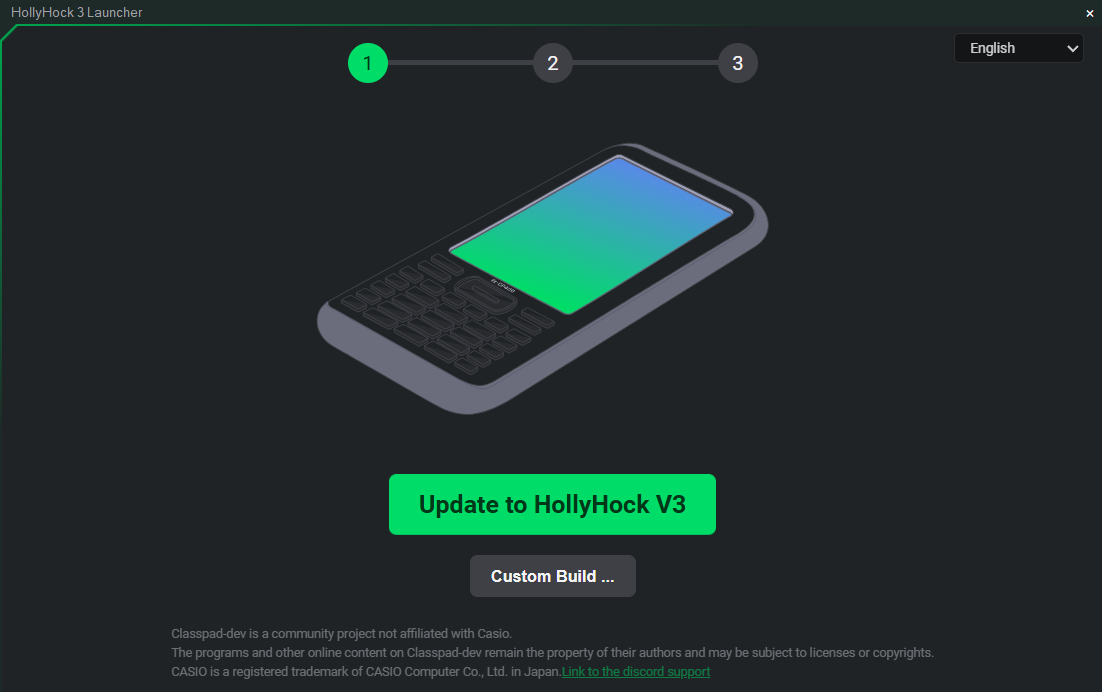
Section titled “1. Start the update”Click Update to HollyHock V3.
2. Download the updater
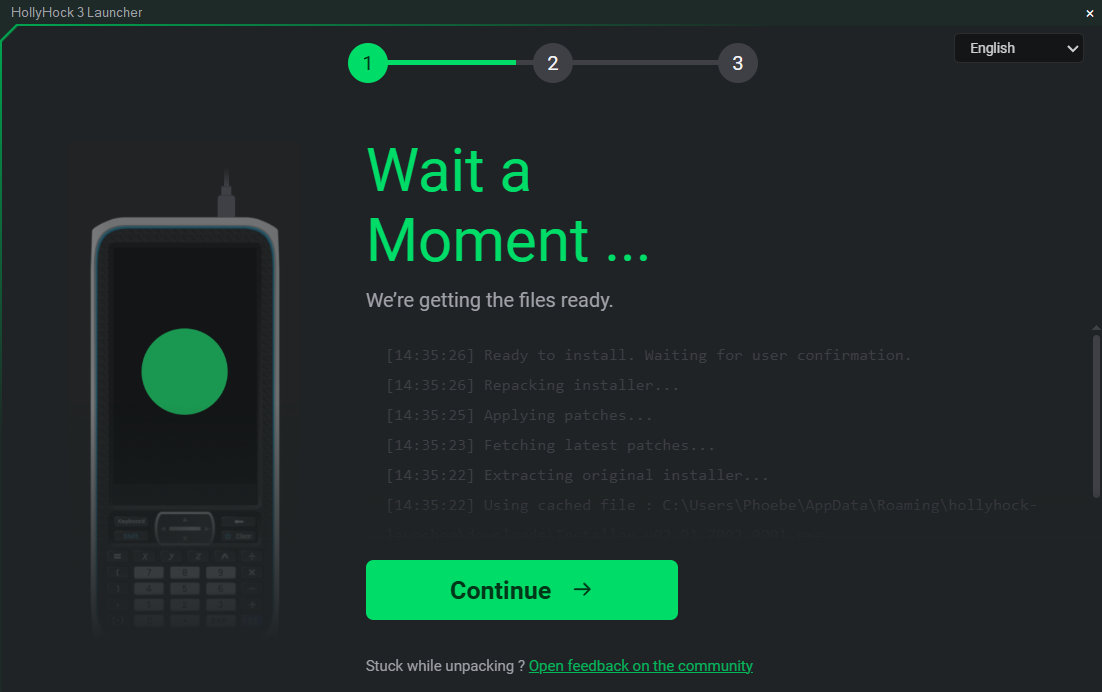
Section titled “2. Download the updater”Wait while the installer downloads and prepares the updater. When the Continue button is ready, click it.
3. Plug in the calculator
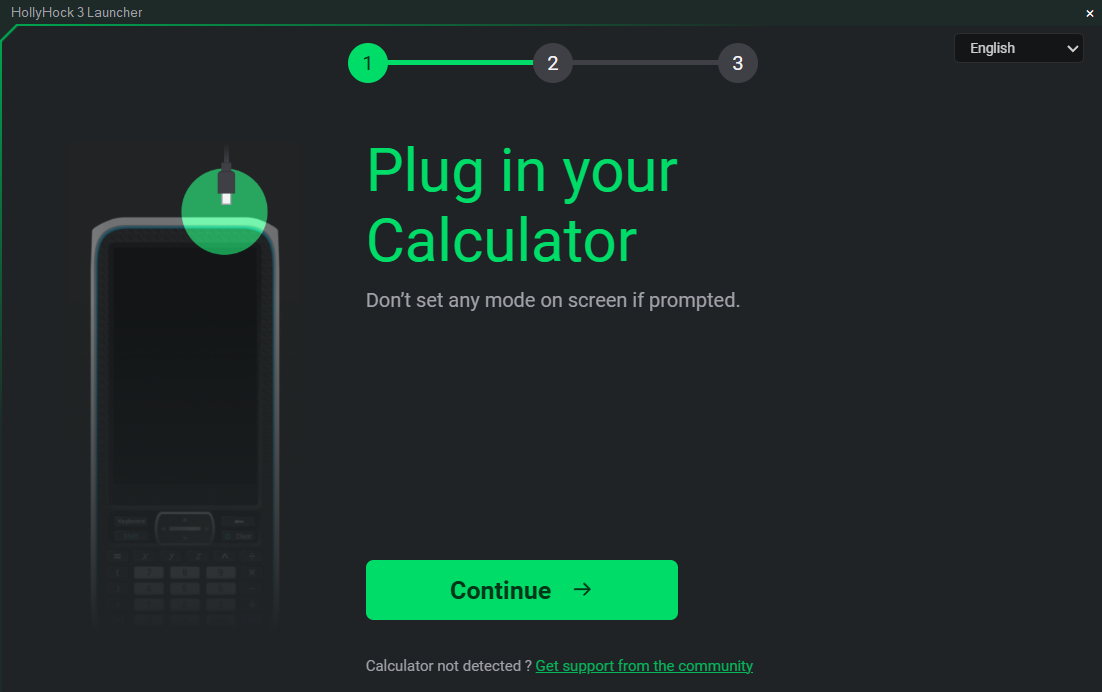
Section titled “3. Plug in the calculator”Plug your calculator into your computer with USB. If the calculator asks you to pick a USB connection mode, do not choose one. Click Cancel on the calculator popup, then click Continue in the installer.
4. Prepare the calculator
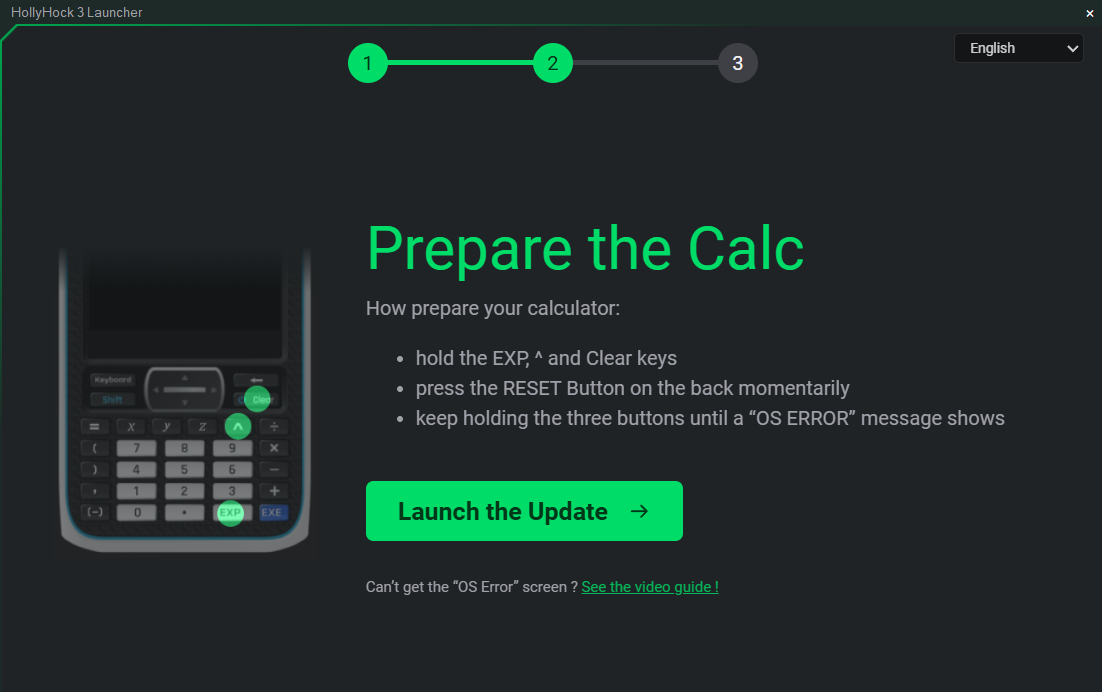
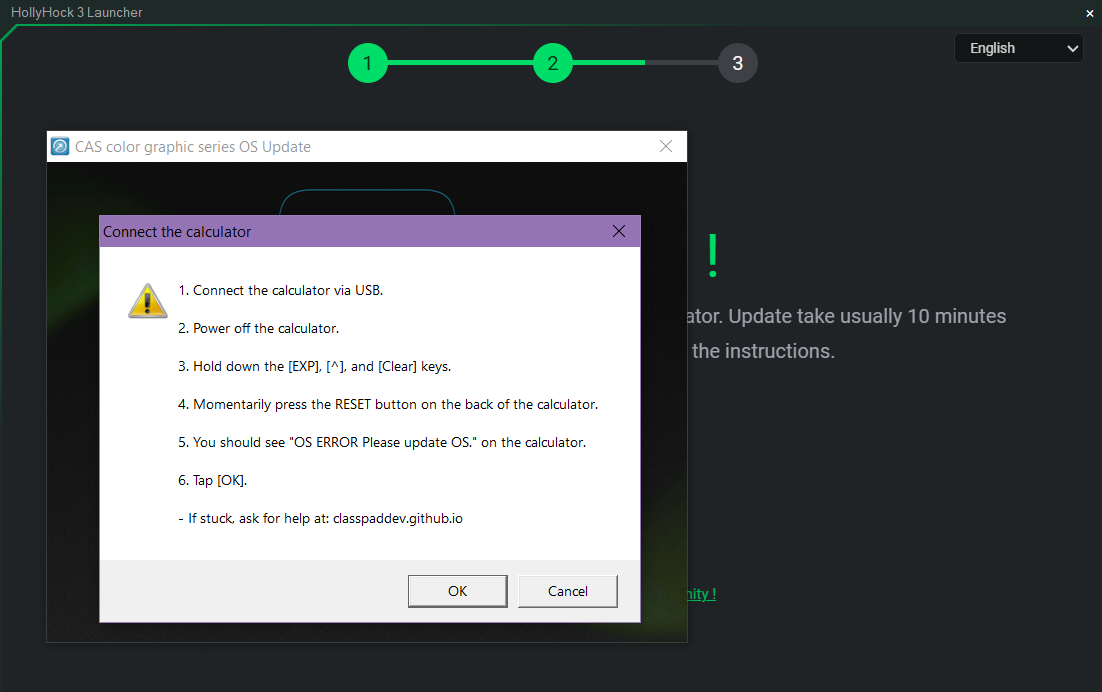
Section titled “4. Prepare the calculator”Power off the calculator, then hold EXP, ^, and Clear.
While holding these three keys, press the reset button on the back of the calculator for a moment. Keep holding EXP, ^, and Clear until the calculator shows OS ERROR.
If you cannot get the key combo to work, watch this video guide:
When OS ERROR is shown on the calculator, click Launch the Update.
5. Confirm the updater
Section titled “5. Confirm the updater”The official updater window will open. It repeats the same connection and key combo steps. When your calculator shows OS ERROR, click OK.
The update usually takes about 10 minutes. Do not unplug the calculator while it is updating.
6. Finish
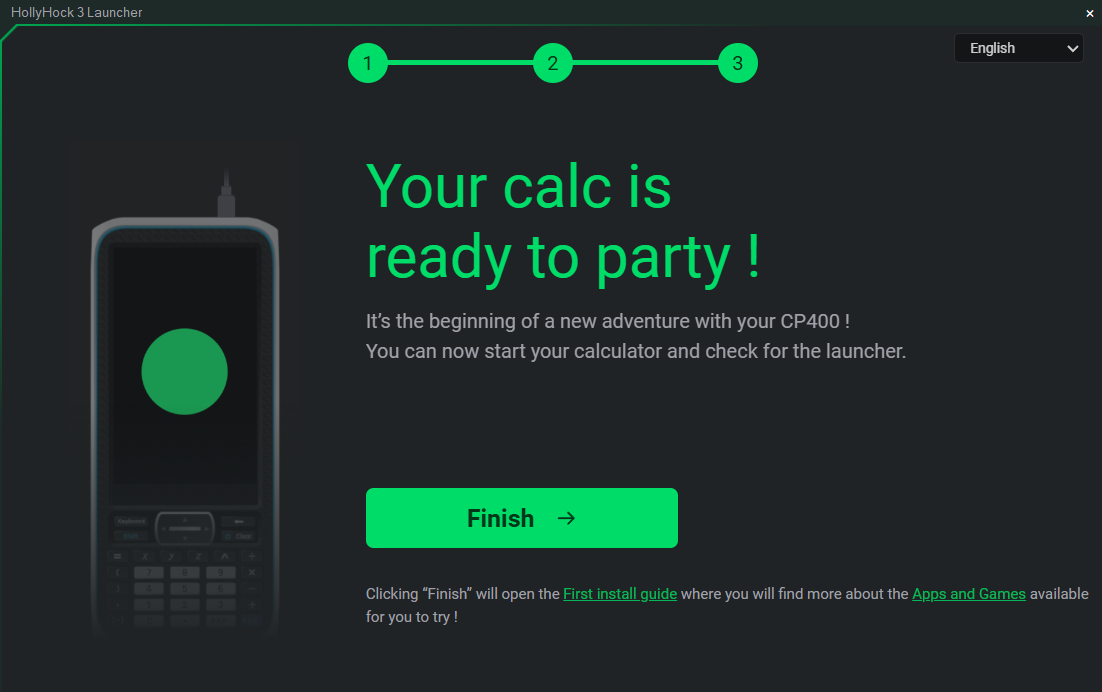
Section titled “6. Finish”When the installer says your calculator is ready, click Finish. You can now start your calculator and check that the HollyHock Launcher is available.
Copy files to your calculator
Section titled “Copy files to your calculator”When the installer is done, plug your calculator back in as USB storage.
First, download the HollyHock launcher file:
- Open the first run steps.
- Download
run.bin. - Keep the file named
run.bin.
Then transfer the files to your ClassPad II:
- Connect your ClassPad II to your computer with USB.
- Copy
run.binto the root directory of your calculator storage. - Copy any
.hh3programs, games, and Python apps you want to run to the root directory too. You can find apps and games in the ClassPadDev store, and Python is available on the Python app page. - Safely eject your calculator from your computer.
Launch HollyHock
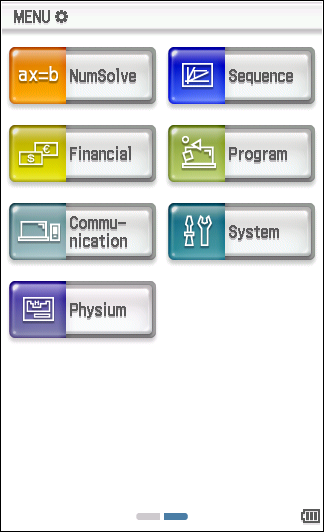
Section titled “Launch HollyHock”- Go to the ClassPad home screen.
- Open
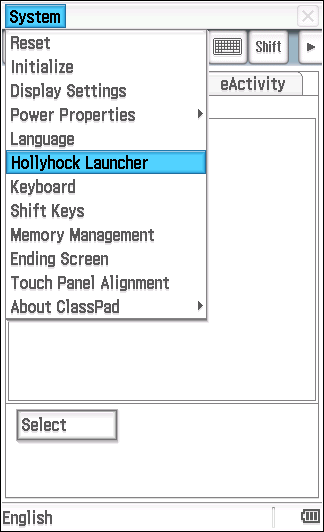
System. - Open the top left
Systemmenu. - Choose
Hollyhock Launcher.
Run your app
Section titled “Run your app”In the launcher, pick the app you want to run from the list and click Run.
The launcher is a bit slow, so be sure to press for a good second.
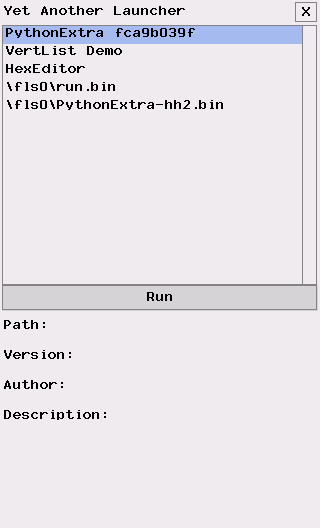
Your app should now run.

Troubleshooting
Section titled “Troubleshooting”Calculator freezes
Section titled “Calculator freezes”If your calculator freezes when launching HollyHock, check that run.bin was copied correctly to the root directory. Try downloading run.bin again and copying it one more time.
Nothing displays in the launcher
Section titled “Nothing displays in the launcher”If no programs appear in the launcher, check that you copied .hh3 programs or games to the root directory of your calculator. The launcher needs these files to show options.
File transfer issues
Section titled “File transfer issues”If you have trouble transferring files, make sure your calculator is properly connected and recognized by your computer. Try using a different USB cable if needed.