Install on macOS
This guide explains how to install HollyHock3 from a Mac by running Windows 11 in Parallels.
HollyHock3 installation is still done from Windows. On macOS, Parallels is the easiest supported path because the installer and the calculator update tool can run inside the Windows virtual machine.
Original PDF guide created by
creezyz(@creezyzon Discord): Download the PDF version.
Disclaimer
Section titled “Disclaimer”What you need
Section titled “What you need”- A Mac
- A ClassPad II calculator
- A USB cable
- Parallels Desktop
- CrystalFetch from the Mac App Store
- A Windows 11 ISO downloaded with CrystalFetch
1. Install Parallels
Section titled “1. Install Parallels”Download the free Parallels trial from parallels.com/products/desktop/trial.
Open the downloaded file and follow the on-screen instructions. macOS may ask you to authenticate with your password.
2. Download Windows 11 with CrystalFetch
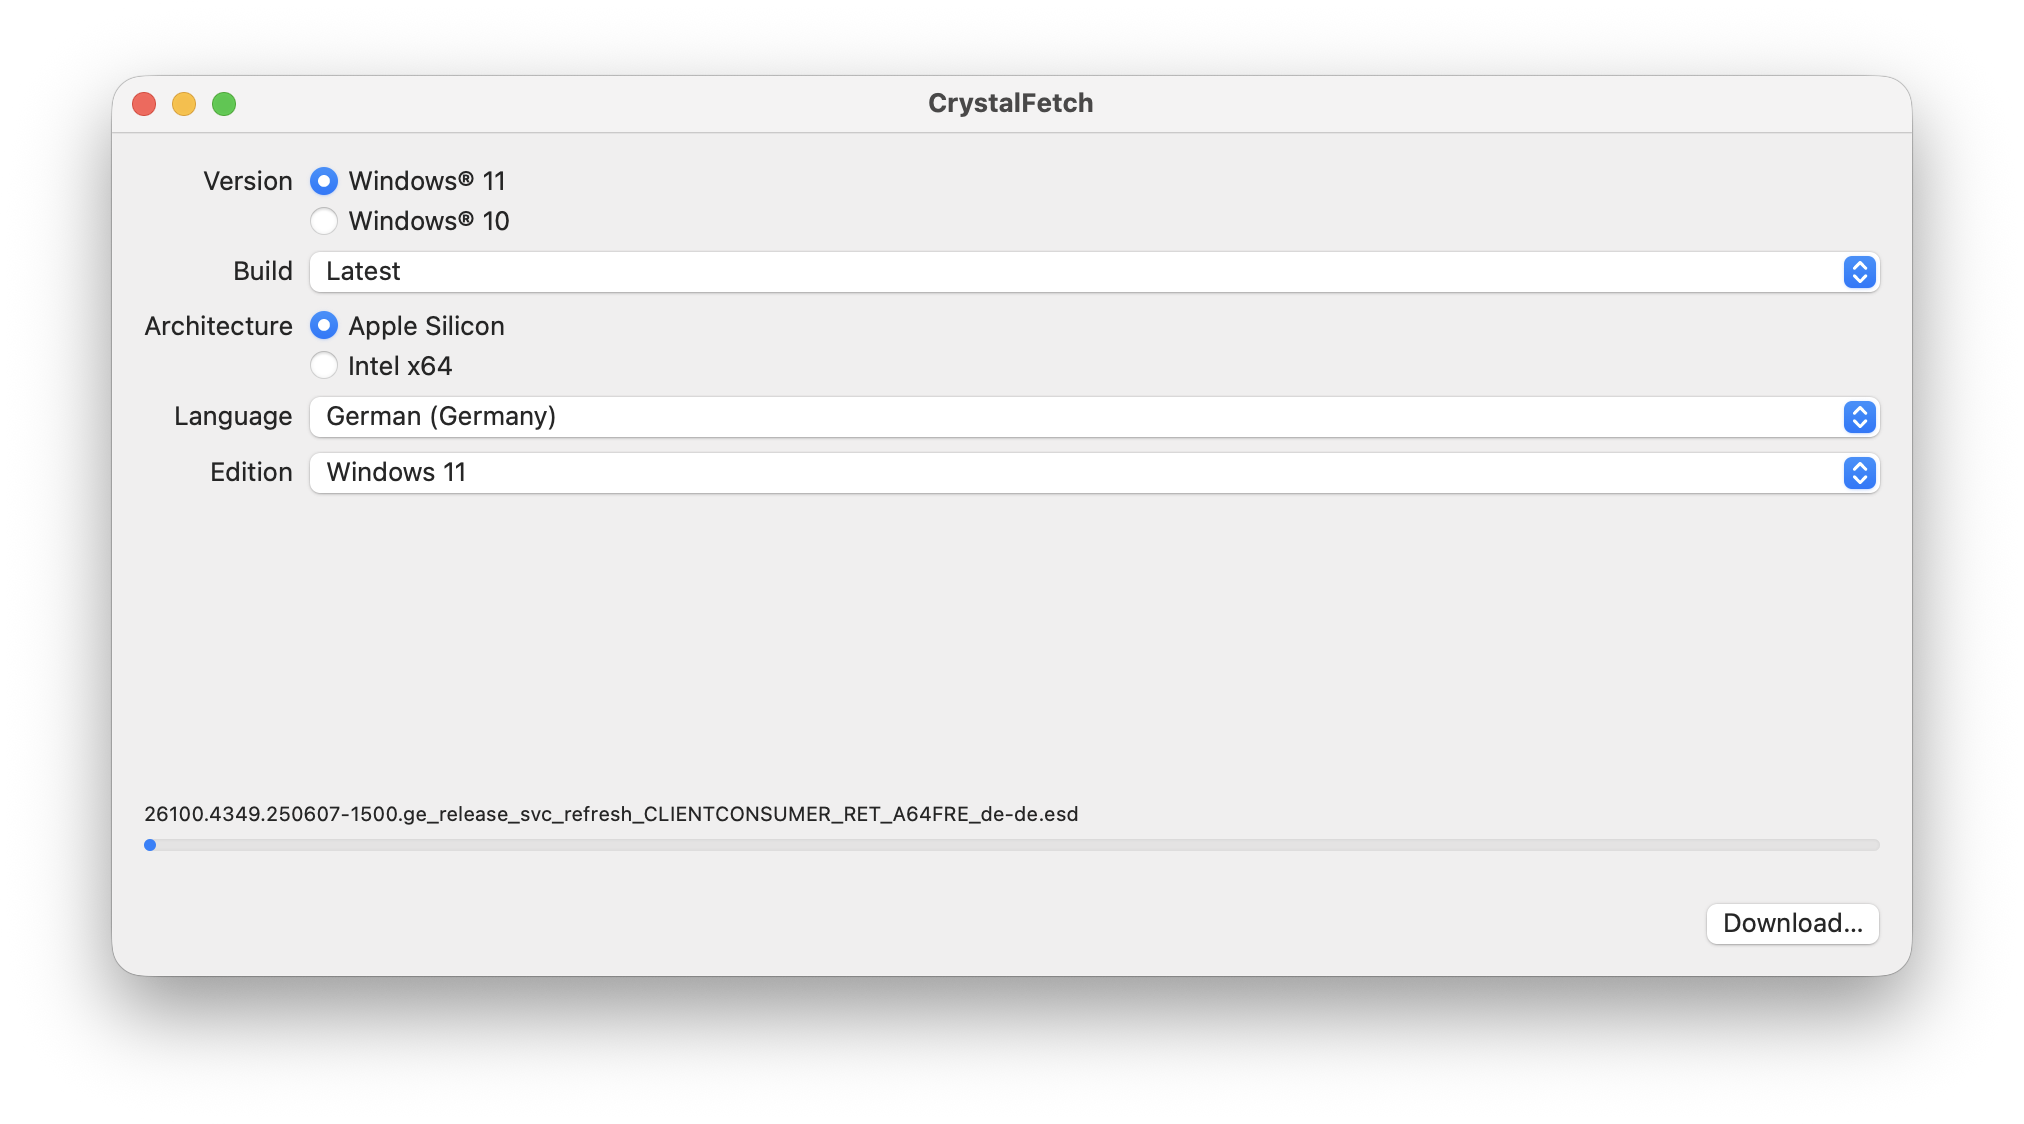
Section titled “2. Download Windows 11 with CrystalFetch”Install CrystalFetch from the Mac App Store, then use it to download a Windows 11 ISO.
Save the ISO somewhere easy to find, such as your Desktop.
In CrystalFetch, choose Windows 11 and the right architecture for your Mac.
3. Create a Windows 11 virtual machine
Section titled “3. Create a Windows 11 virtual machine”Open Parallels and choose the option to install from an image file.
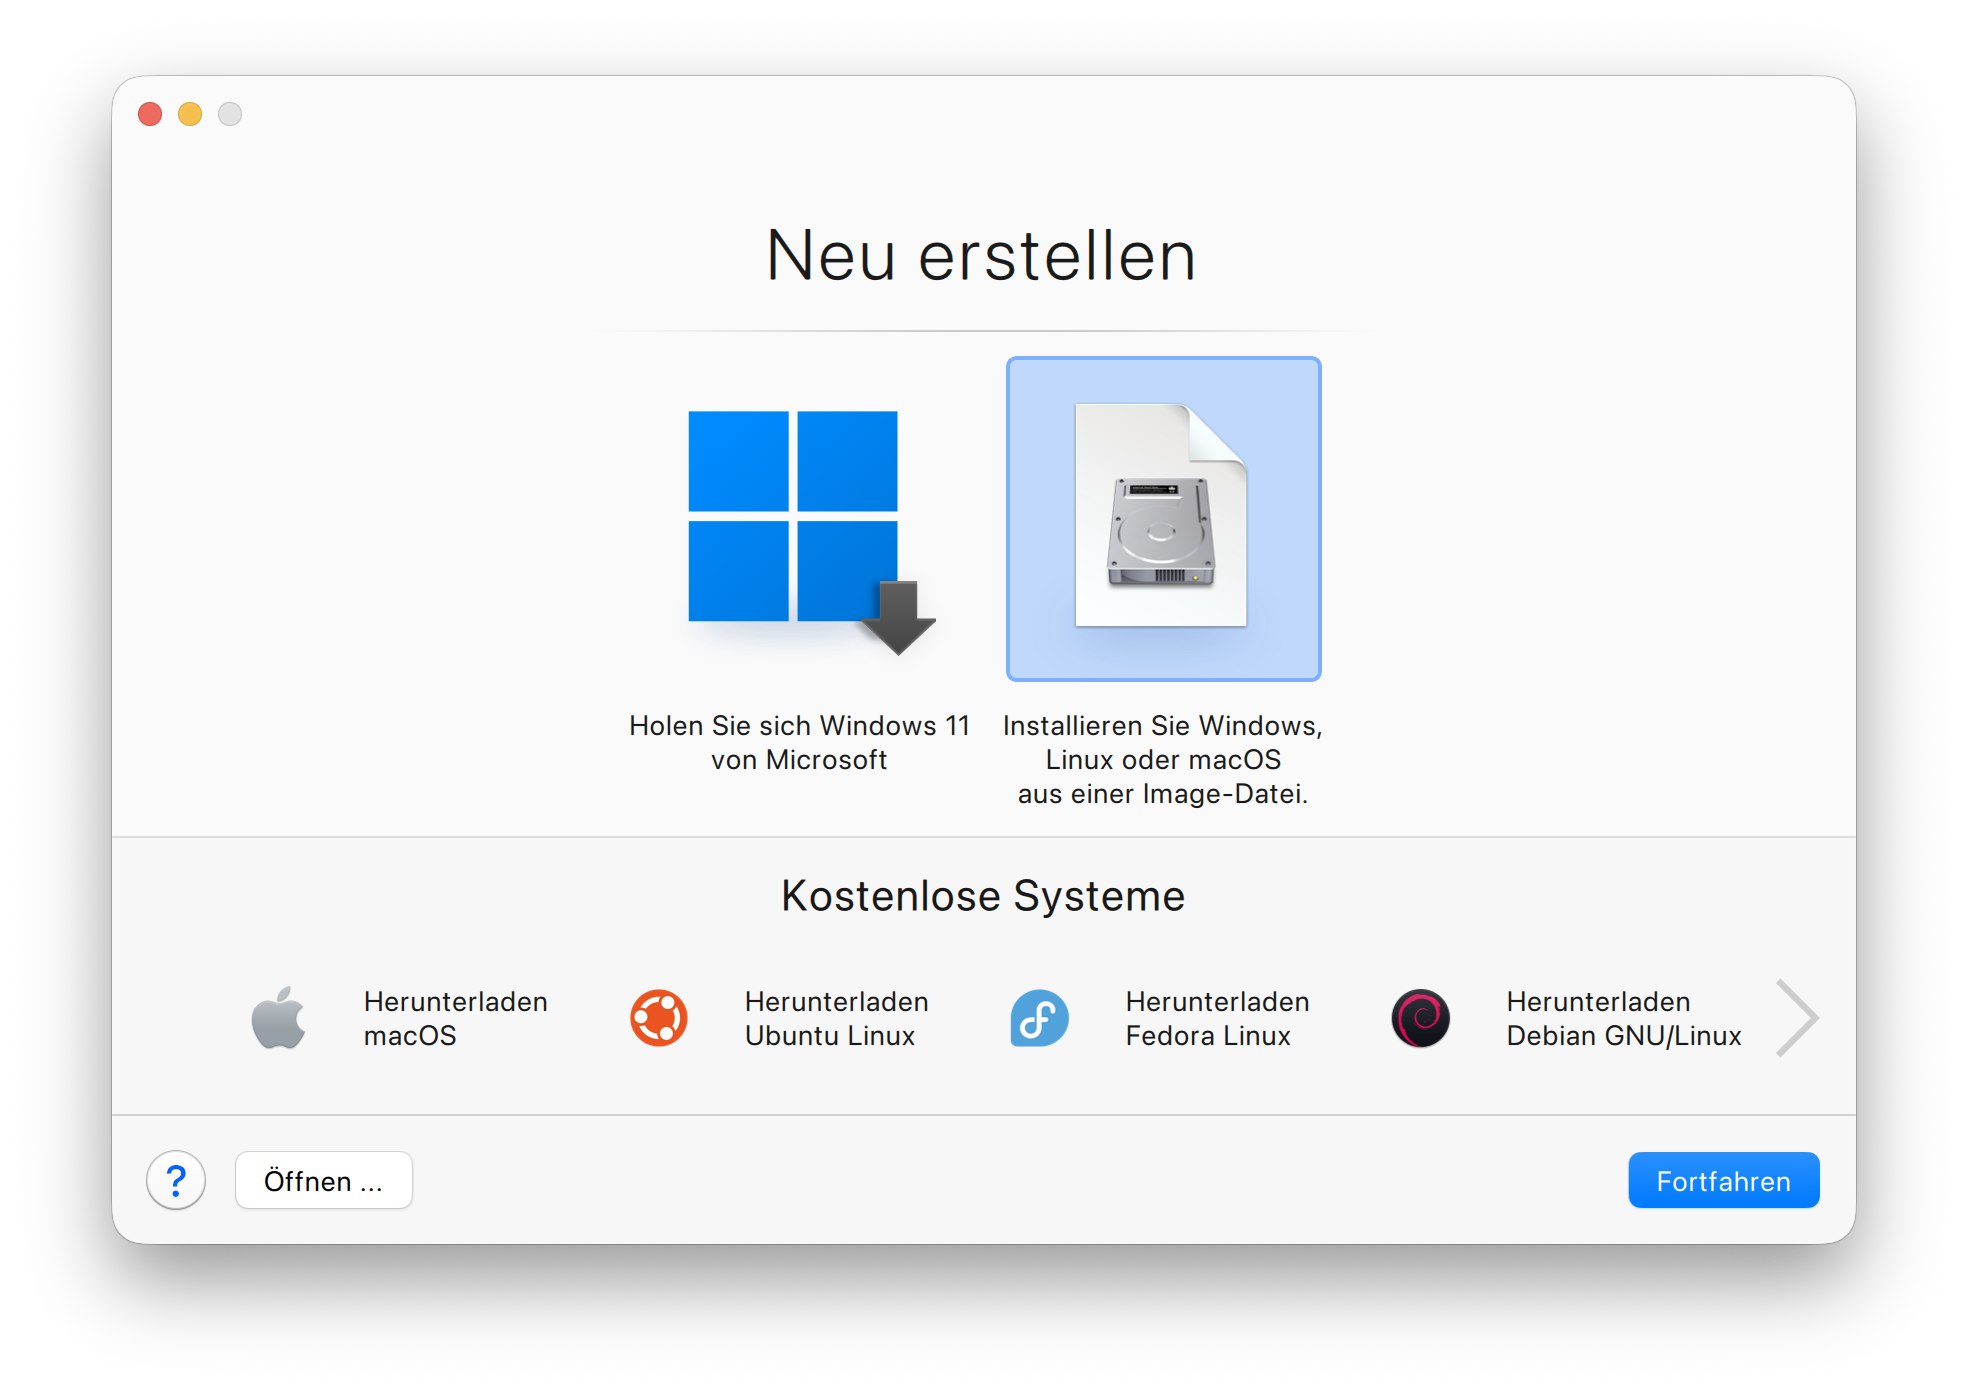
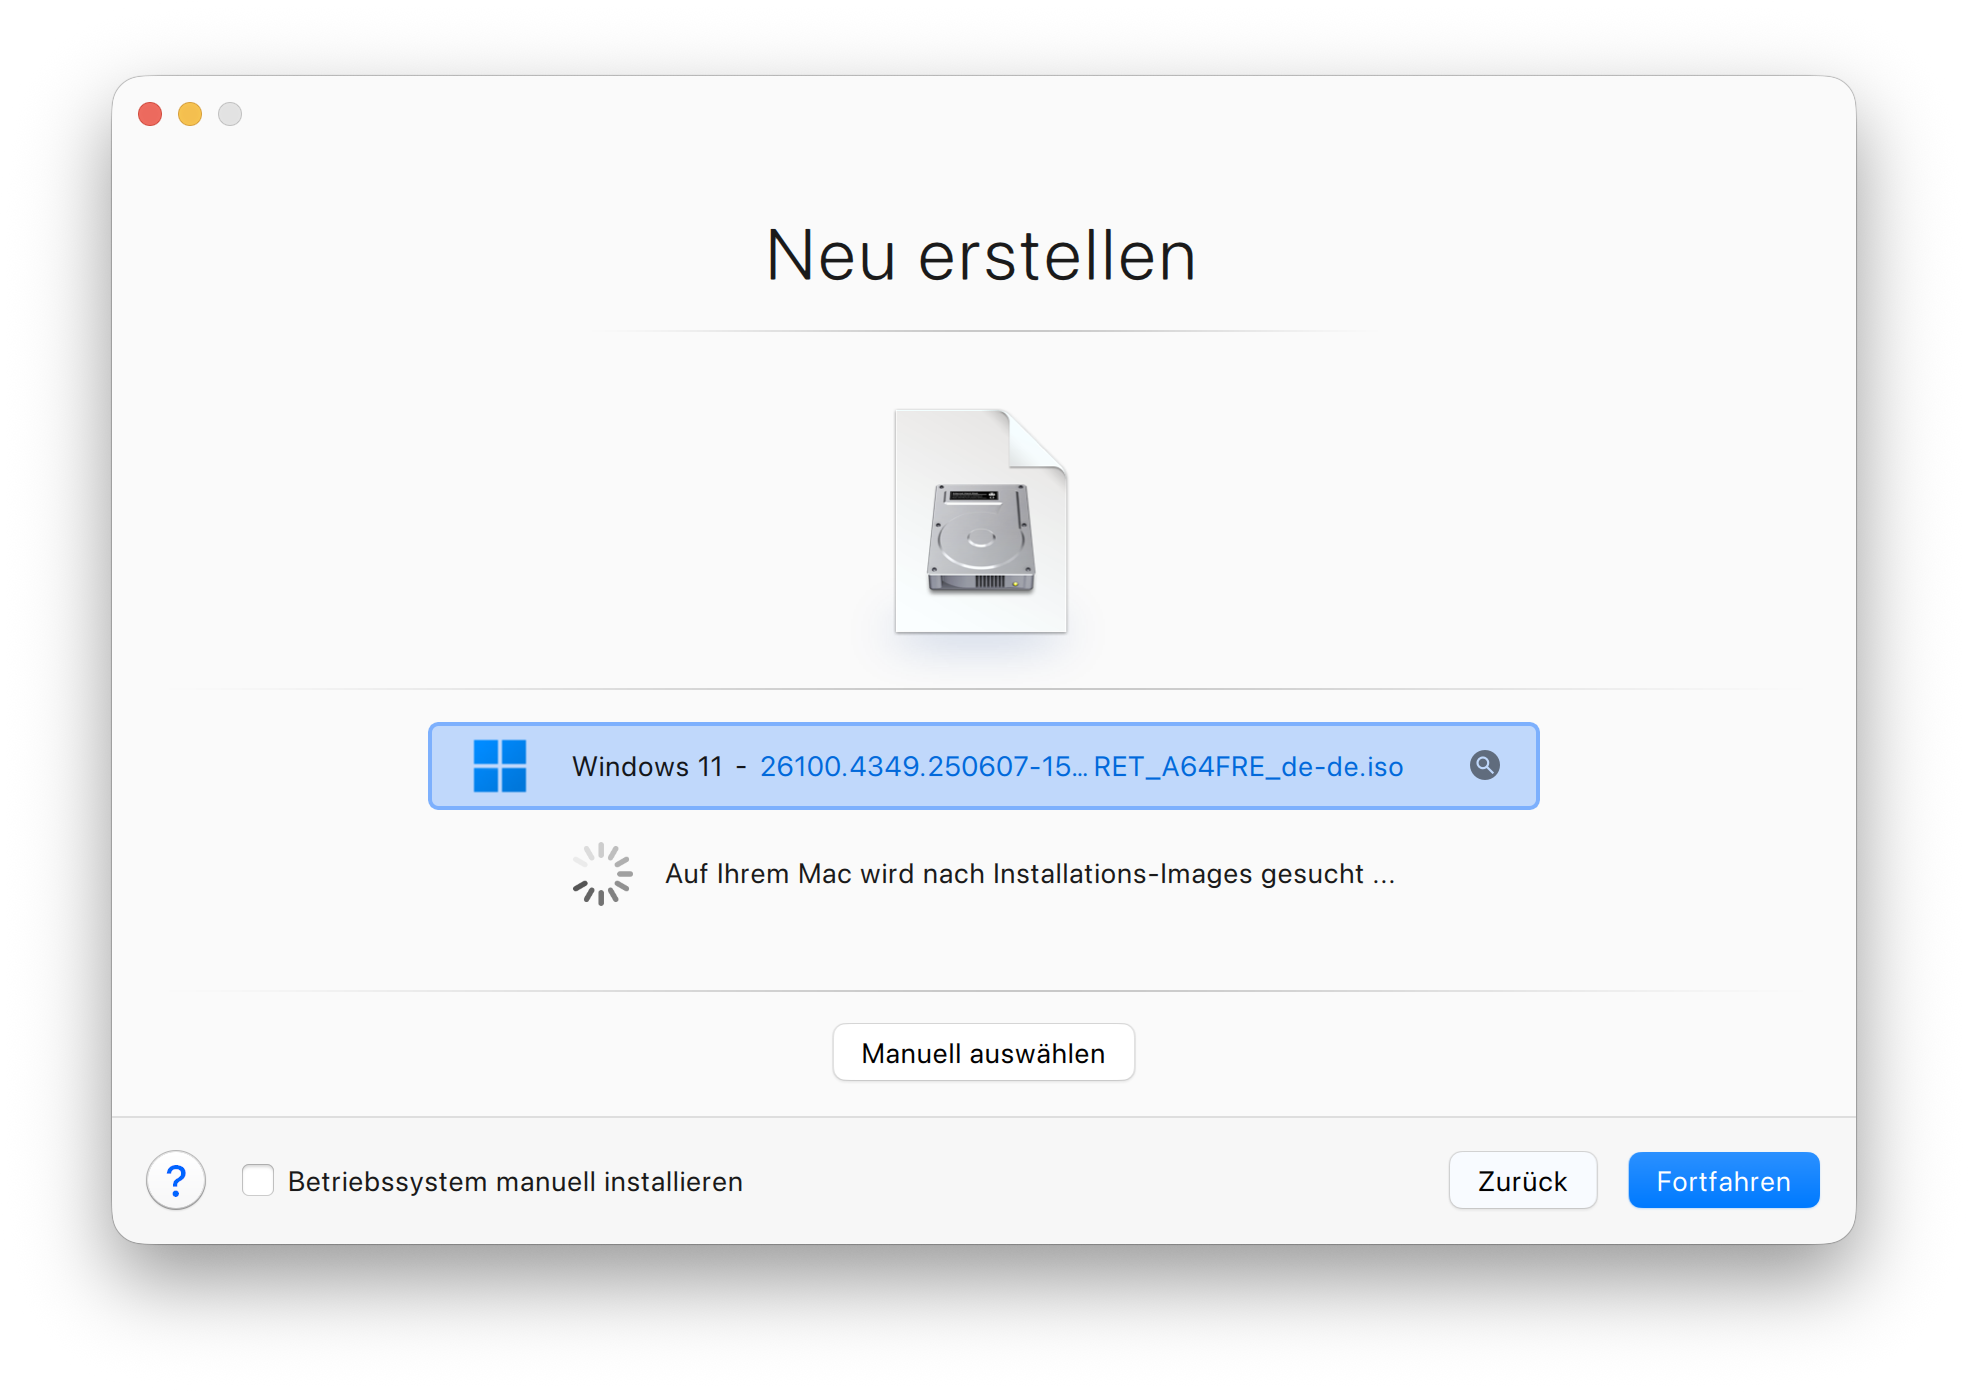
Select the Windows 11 ISO file that CrystalFetch downloaded, then click Continue.
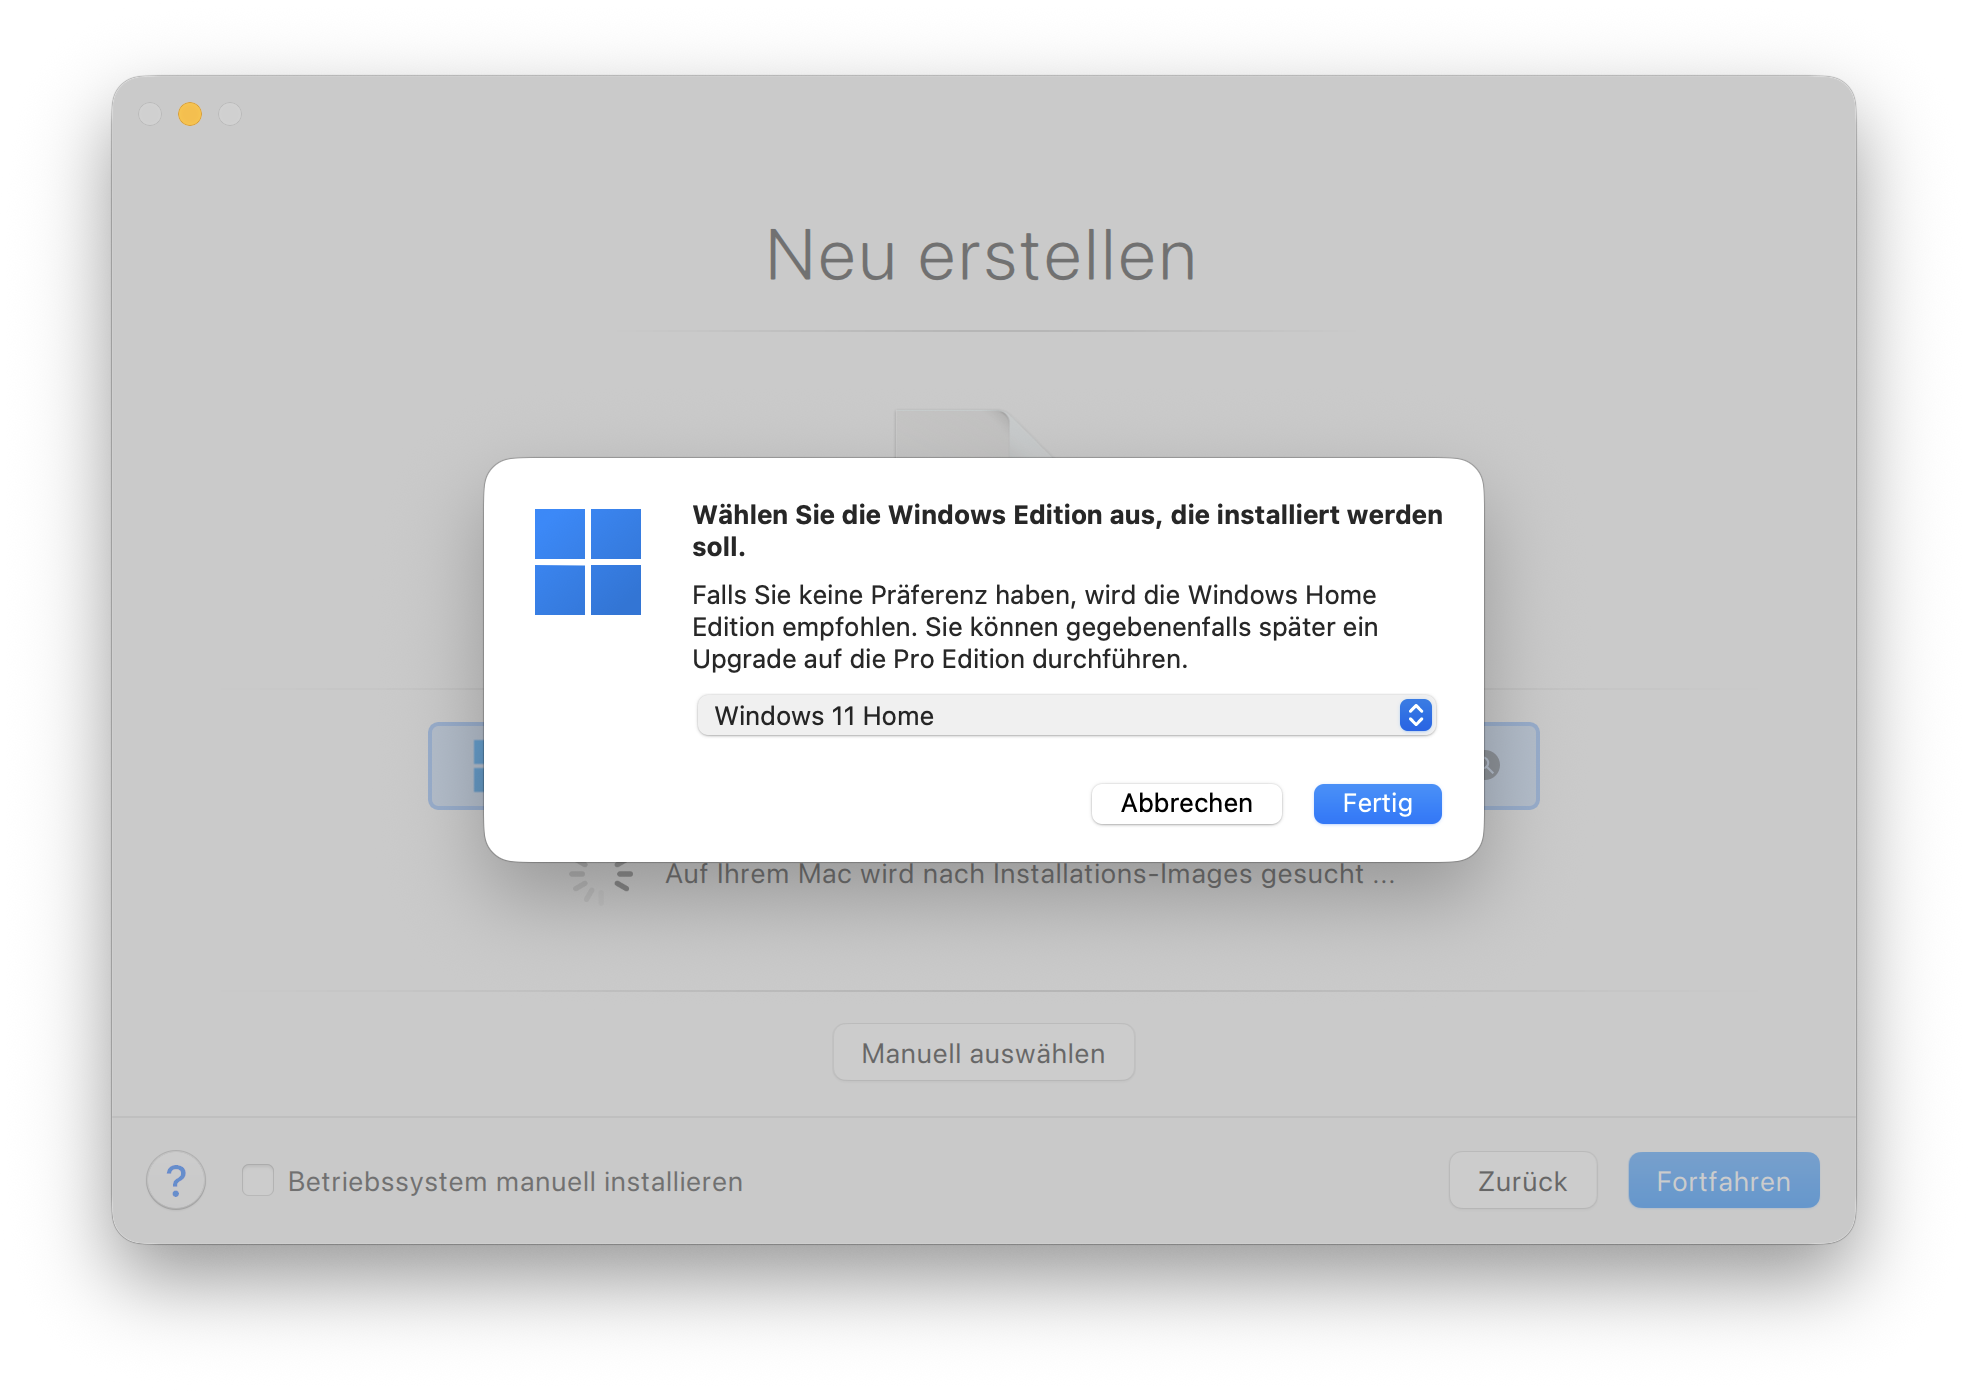
When Parallels asks which edition to install, choose Windows 11 Home.
Continue through the Windows setup. When you reach the login page, create a Windows account.
If Parallels asks for activation, click Try free for 14 days.
4. Let Windows finish installing
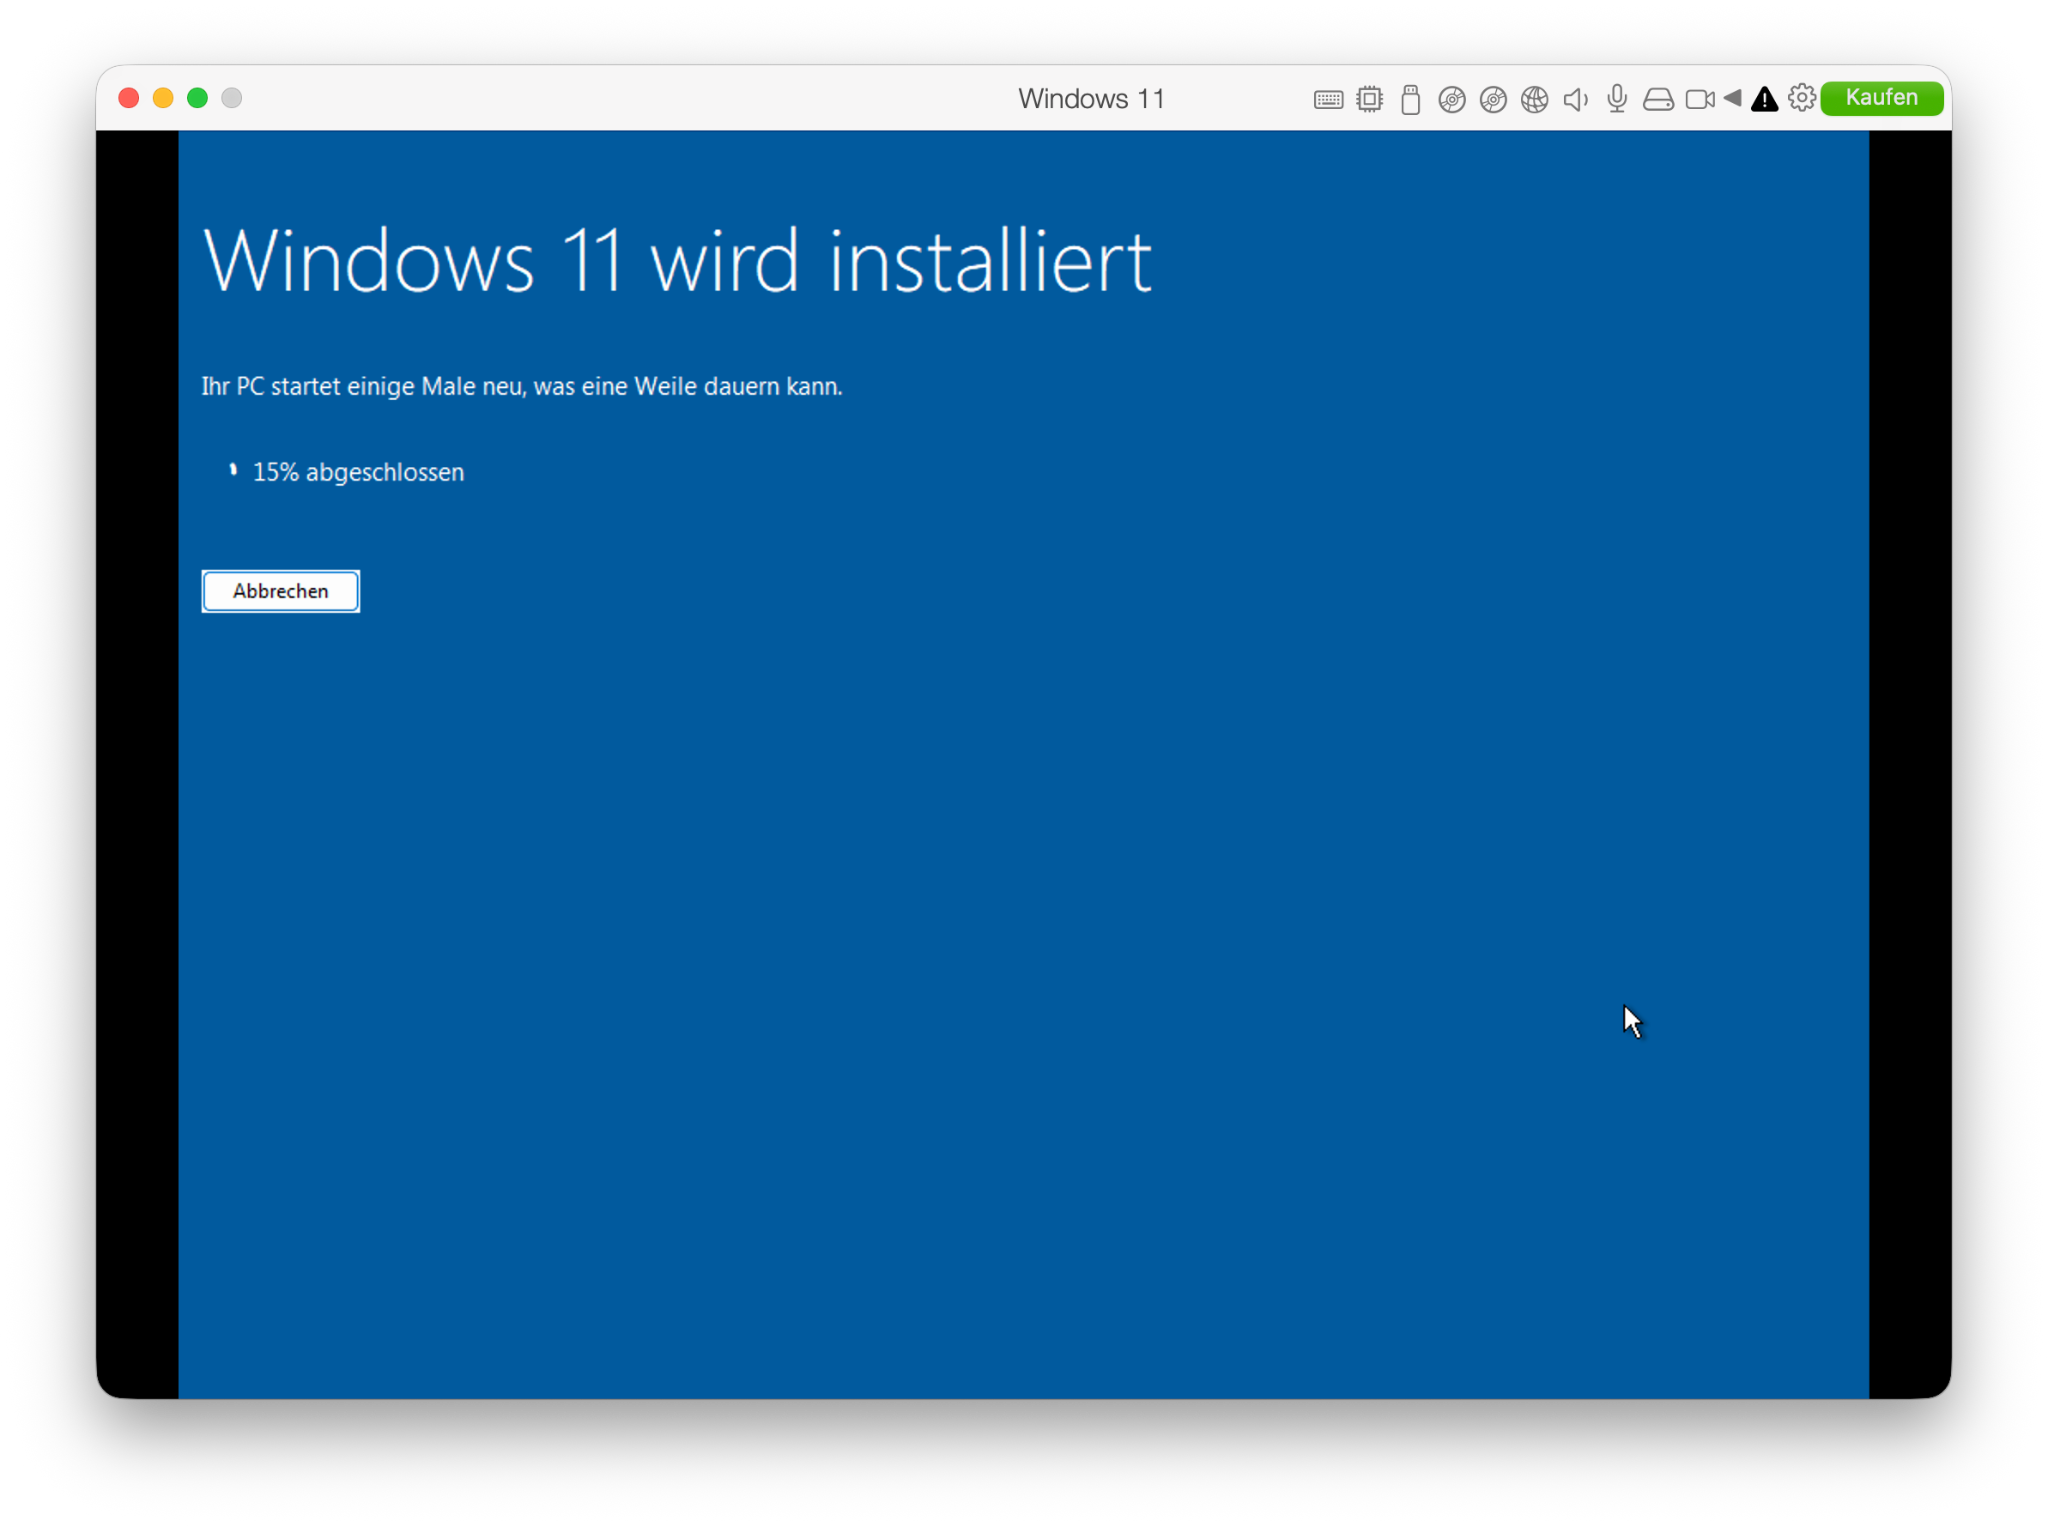
Section titled “4. Let Windows finish installing”Launch Windows 11 from Parallels and let the installation finish.
5. Run the HollyHock3 installer in Windows
Section titled “5. Run the HollyHock3 installer in Windows”Inside Windows 11, open Microsoft Edge and go to classpad.dev.
Follow the Windows installer instructions from the main Install HollyHock3 MOD page.
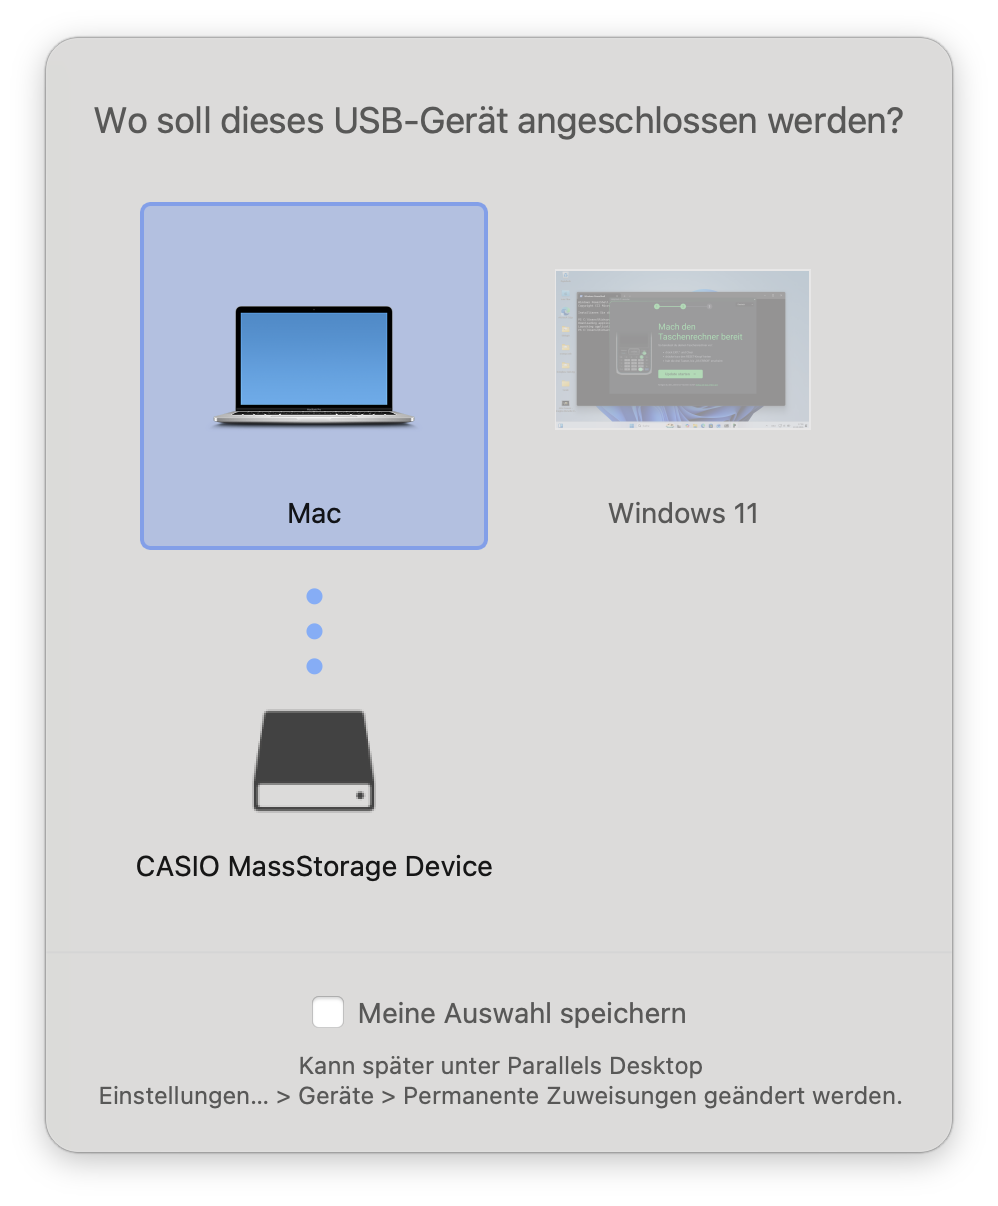
When the installer asks you to connect your calculator, plug the calculator into the Mac. Parallels will ask whether the USB device should connect to macOS or Windows 11. Choose Windows 11.
The calculator OS update happens during this step. Do not unplug the calculator and do not touch the cable while the update is running.
6. Copy run.bin and your apps
Section titled “6. Copy run.bin and your apps”After the update is done, reconnect your calculator and select USB Mass Storage.
You can copy files from macOS or from Windows in Parallels:
- Download
run.binfrom the first run steps. - Copy
run.binto the root of your calculator storage. - Copy any
.hh3programs, games, and Python apps you want to use to the root of the calculator too. You can find apps and games in the ClassPadDev store, and Python is available on the Python app page. - Safely eject the calculator.
7. Launch your app
Section titled “7. Launch your app”On the calculator:
- Go to the ClassPad home screen.
- Open
System. - Open the top left
Systemmenu. - Choose
Hollyhock Launcher. - Pick your app and press
Run.
Troubleshooting
Section titled “Troubleshooting”Parallels asks where to connect the calculator
Section titled “Parallels asks where to connect the calculator”During installation, choose Windows 11. The updater needs to see the calculator from inside the Windows virtual machine.
For normal file copying after installation, you can choose macOS or Windows. The important part is that the calculator is in USB Mass Storage mode.
The installer does not see the calculator
Section titled “The installer does not see the calculator”Unplug the calculator, plug it in again, and make sure Parallels connects it to Windows 11.
If you still have trouble, restart Windows in Parallels and try again.
You need help
Section titled “You need help”Join the ClassPadDev Discord server and explain which step failed.