Building your app
If your devev is ready to be used, you shall be able to run the make command from the command line.
Building your Classpad app involves using the make command, a powerful tool for automating the compilation process.
When you run make, it compiles your source code into both elf and HH3 files.
The HH3 format is the recommended format for HollyHock-3.
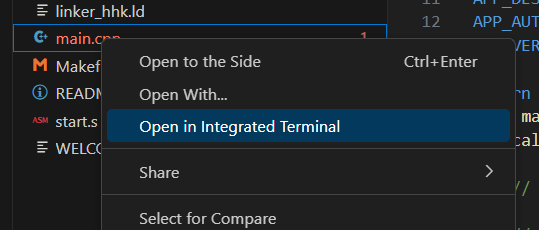
On the codespace / remote VSCode
Section titled “On the codespace / remote VSCode”From the “Explorer” (Ctrl + Shift + E) panel at the top left, right click on the “main.cpp” file and choose “Open in integrated terminal”
First time only, enter make compile_commands.json in the terminal (or use the vscode task)
Restart clangd via CTRL+SHIFT+P in vscode, by entering > restar and picking “clangd: Restart…”
Then, inside the terminal, enter the following text : make -j
You should now see a dist folder on the tree view containing a file ending with “.hh3” (like CPapp.hh3). Right click on it and choose “Download…”
Now, plug your calculator and put this file on the root folder of the calculator (not the Autoimport, the very root folder that opens).
Finally, unplug your calculator and on the menu → System → Hollyhock Launcher and you should see your app on the list.
To change the file name, open the Makefile and adjust this line to what you want:
APP_ELF := $(OUTDIR)/<your_file_name>.elf